ChatGPT integration guide
ChatGPT already supports MCP Servers, but the support is still limited and somewhat experimental:
Integration is only possible as a remote MCP server via the Connectors feature. This means you can not use any configuration parameters (like Required Inputs) as this is only supported with local MCP servers. Also, you will have to activate the Developer mode to be able to add a custom connector to ChatGPT.
While a custom connector added to your ChatGPT account is also automatically available on all ChatGPT apps (Browser, Desktop and Mobile), the setup can only be done via your ChatGPT account inside your browser.
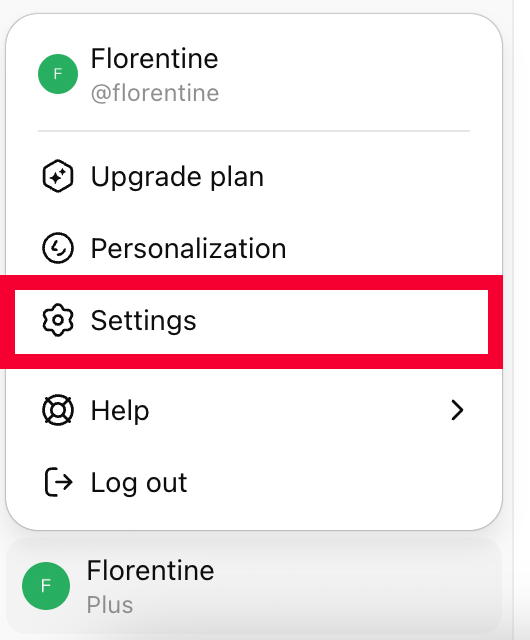
Navigate to chatgpt.com, click on your username in the lower left corner and in the opening menu, click on Settings. Altneratively, you can directly navigate to the ChatGPT Connectors settings:
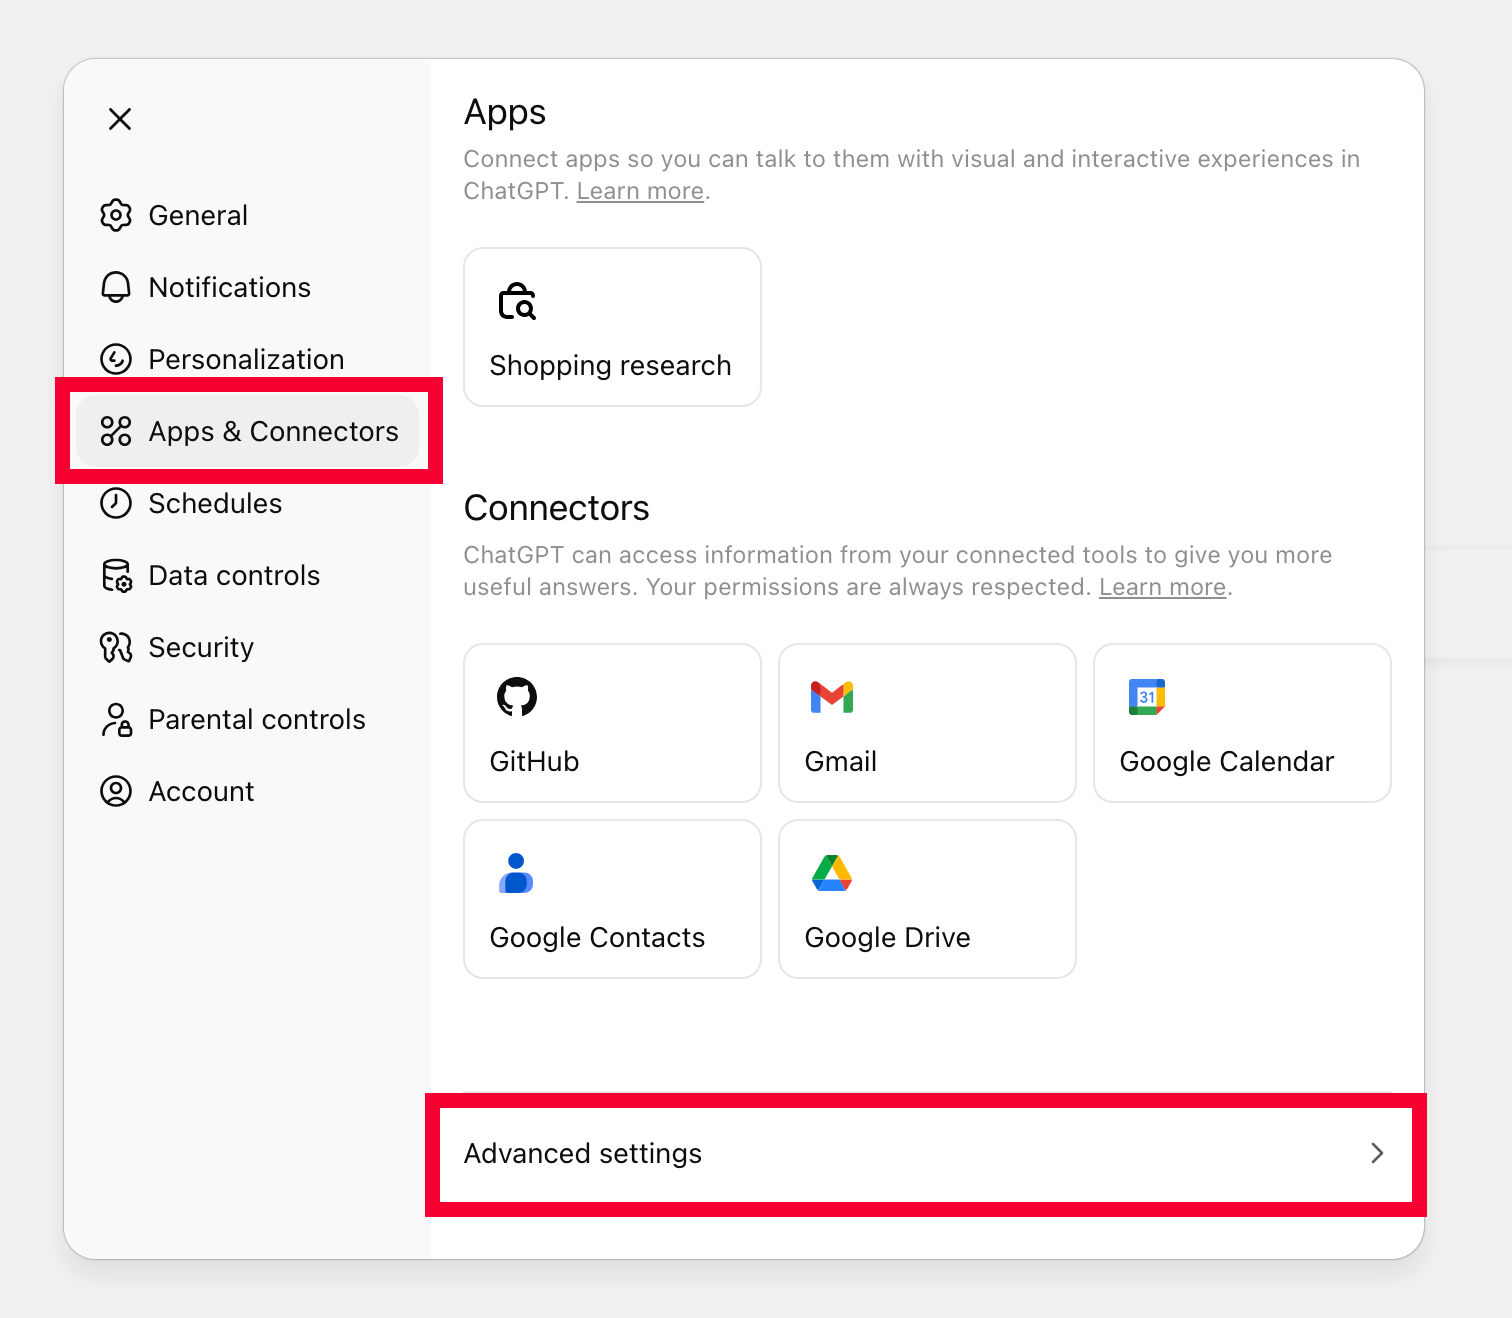
If you are not already on the Connectors screen, click on Apps & Connectors in the settings navigation and then click on Advanced settings at the bottom of the overlay:
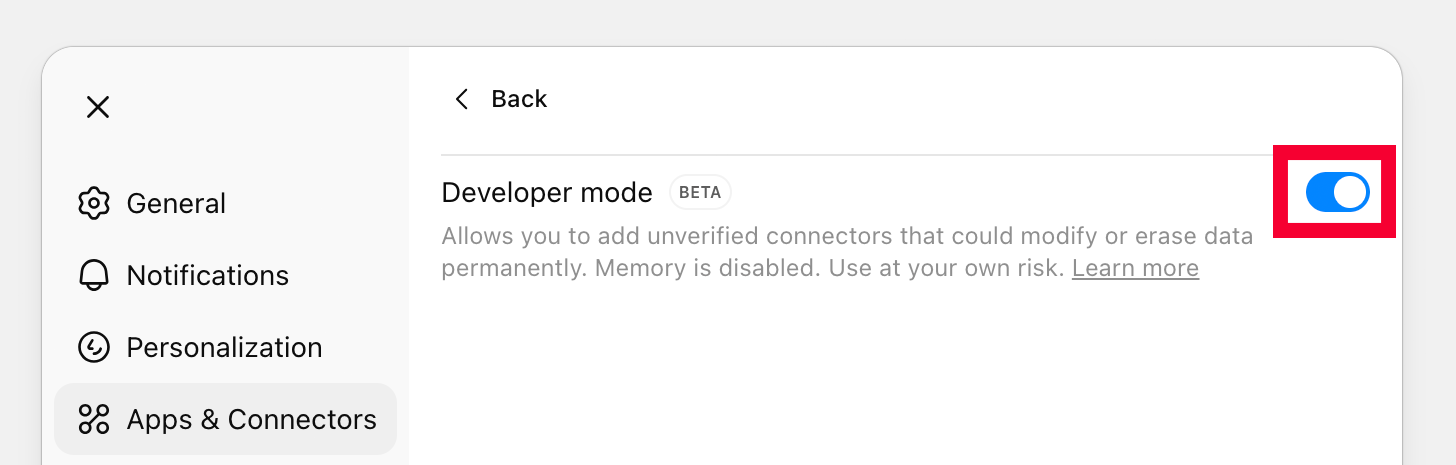
Next, activate the Developer Mode by toggling the switch:
Click on Back. Now you see a Create button in the upper right corner on the Apps & Connectors screen:
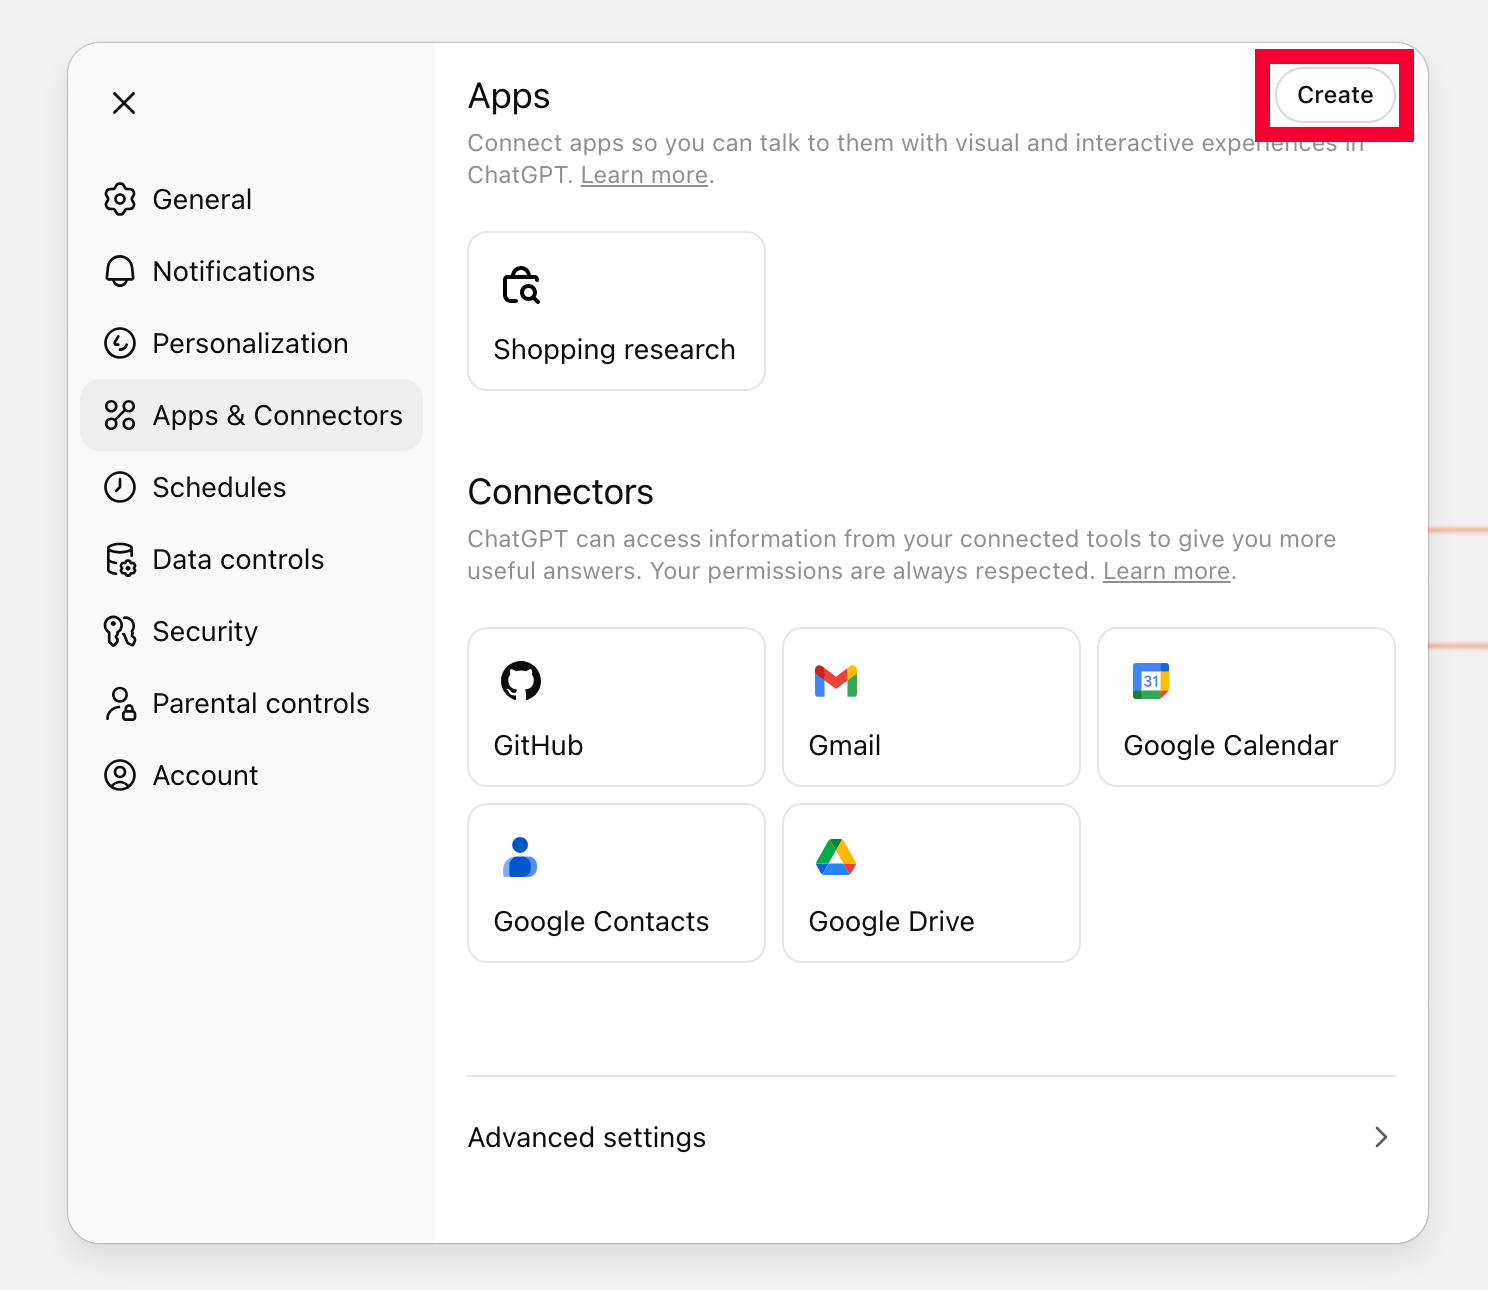
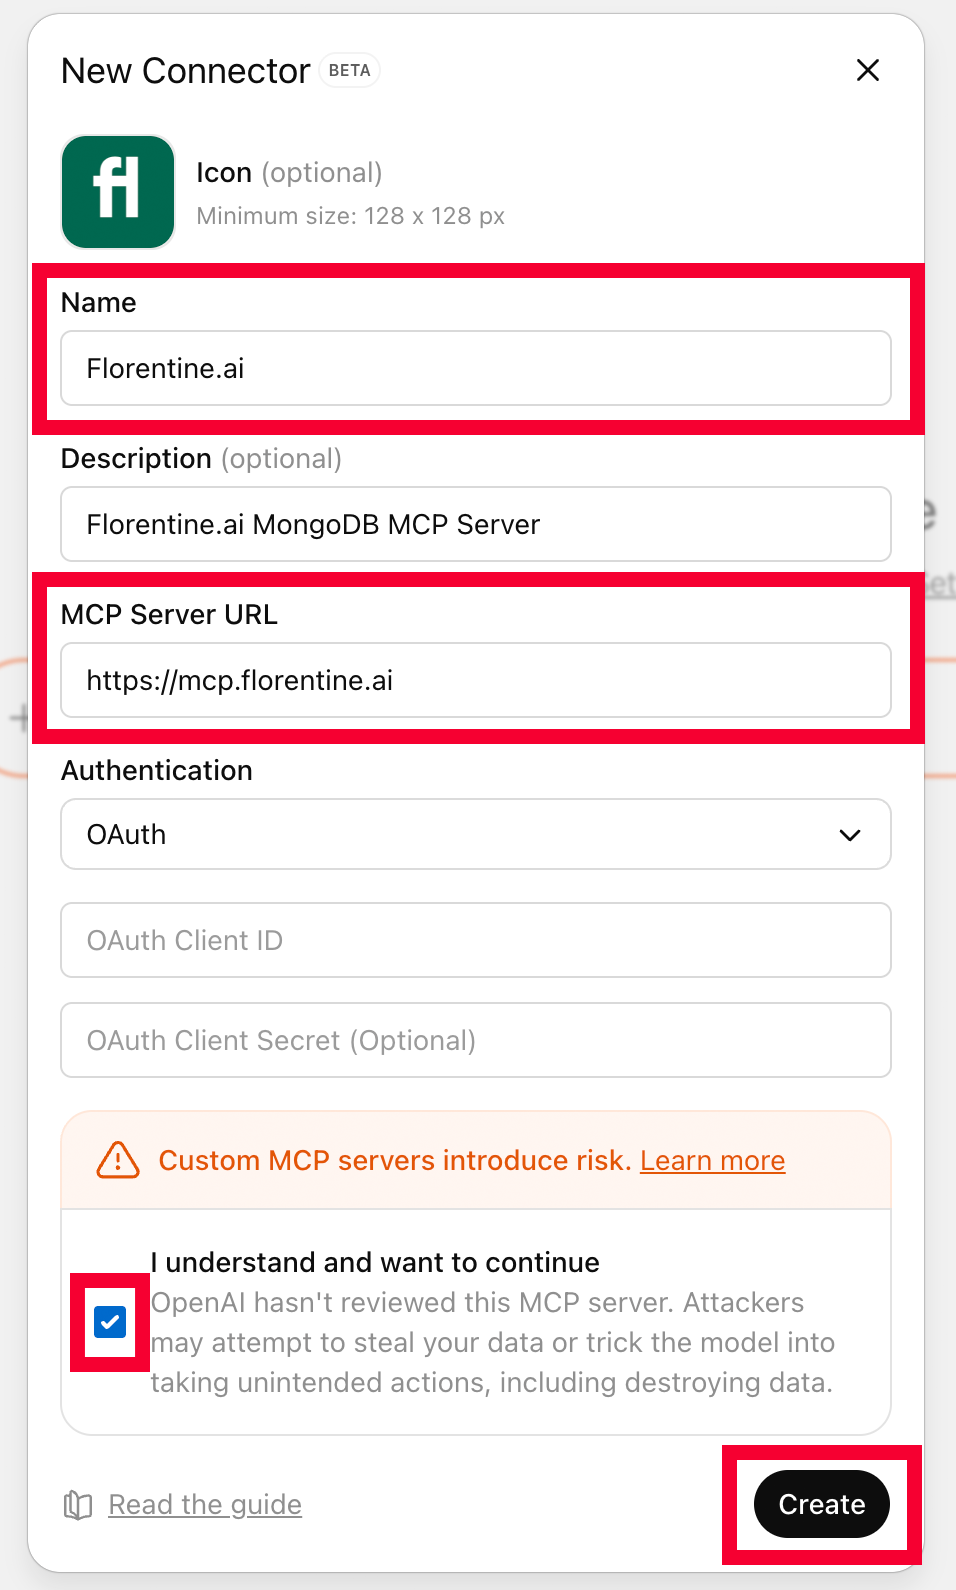
Click on it and the New Connector modal opens. Fill in Florentine.ai in the Name field and https://mcp.florentine.ai in the MCP Server URL field. Optionally you may add a description and a logo (download Florentine logo here).
Then check the confirmation checkbox and click on Create:
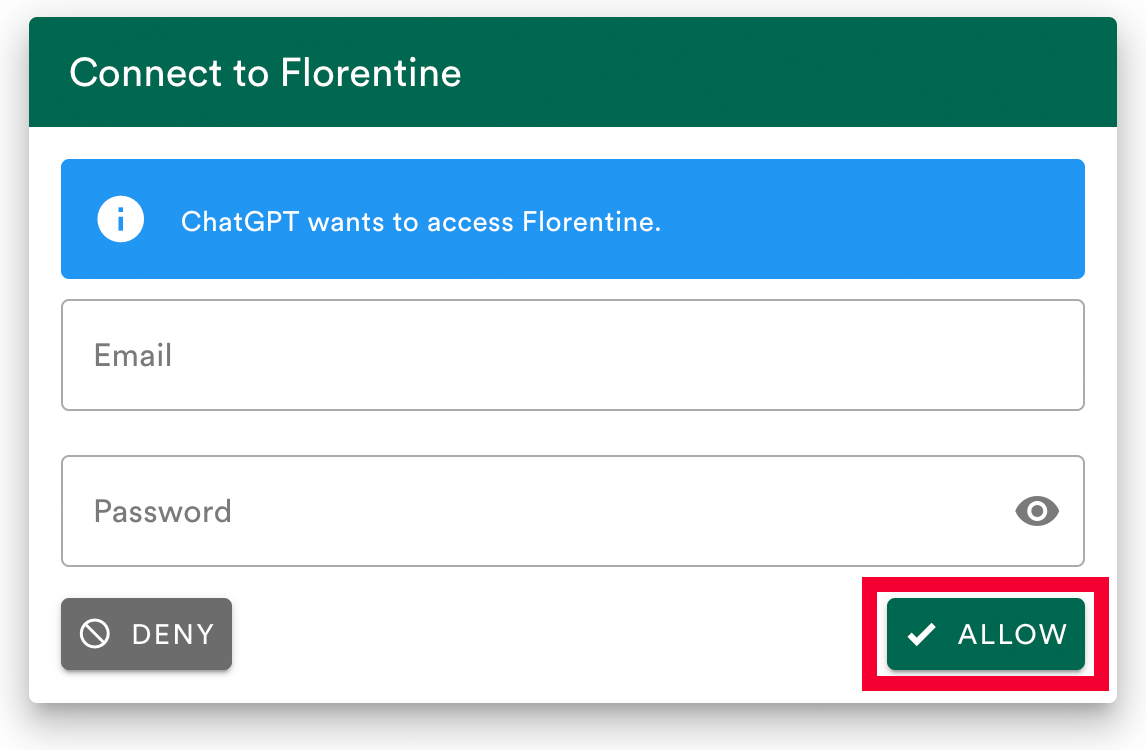
You are now redirected to the authorization flow on the Florentine website where you are asked to fill in your login credentials if you are not logged into your account. Then click on Allow to give ChatGPT access to Florentine:
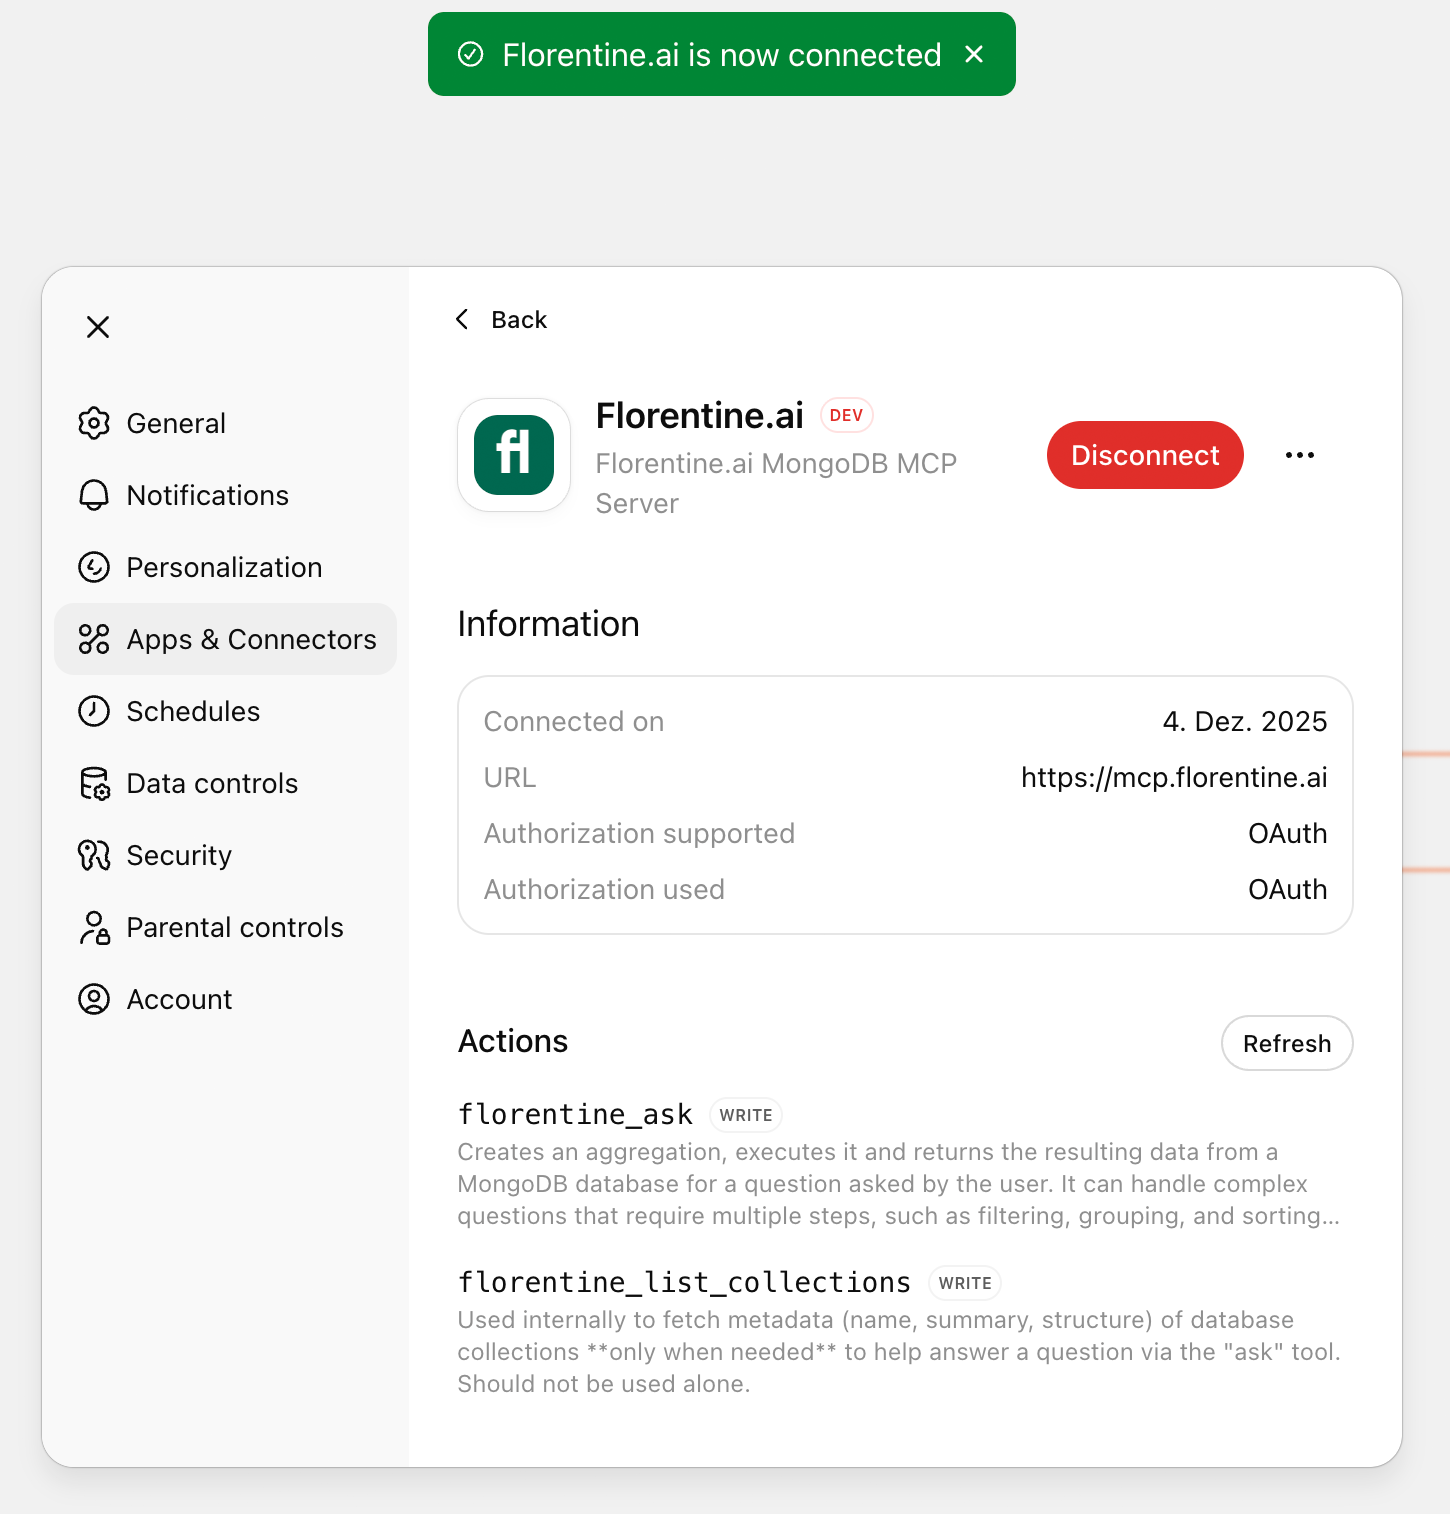
Finally you are again redirected back to chatgpt.com where you see a confirmation of the successful connection of Florentine.ai to ChatGPT: